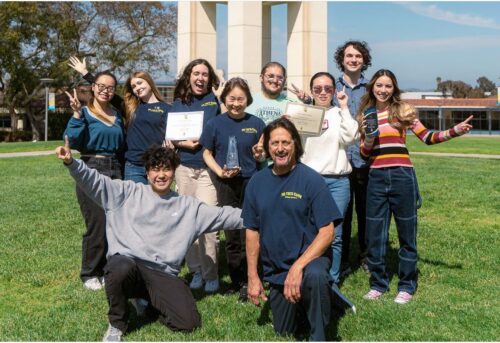
Editor’s Note: This post was written and submitted by International President Elda Pere.
The cost of prosthetics nowadays reaches up to tens of thousands of dollars. As a result, many amputees are forced to live without the means of making their lives easier for this two hands-, two legs-based world.
“Project E-Nable” is a movement that provides open-source designs and guides to creating 3D-printed prosthetics free of charge for amputees. These prosthetics are purely mechanical and can bear daily functions like lifting objects, driving, etc. They are cost-efficient, easy to build, and require a single semi-large investment: buying a 3D printer.
With support from your college and a desire to leave a mark in your community, you can also begin your journey of giving someone a helping hand — literally.
The Process
A. Modeling and Customizing the Design
To create prosthetic hands, you would have to know how to 3D print. To 3D print, you would first have to be able to slice a design. To slice a design, you would first have to have created or edited the design using CAD — where it all begins.
CAD stands for “computer-aided design.” It is the first step to manufacturing most things in the room you’re in. Common CAD software are “SolidWorks” and “Fusion 360,” the latter being the more affordable version. There are plenty of sources online that teach you how to design models with these software. YouTube tutorials seem to be the most effective.
Although very useful, CAD is not crucial to making 3D-printed prosthetics. This is because there is already a great variety of open-source models readily available. Our “Project E-Nable” stems from a nationwide movement whose website provides sources to start you off as an E-Nable chapter.
The designs that are available depend on your amputees’ needs. You may need a design that is wrist-powered, like the design that we are generally referencing in this article: the Phoenix hand. If your amputee does not have a functional wrist, you might look into the elbow-powered designs. If you’re trying to build fingers alone, there are links for that as well.
B. 3D Printing
Although unknown to many, 3D printing is a common tool in the engineering world. Generally, 3D printer prices range from $200 to tens of thousands of dollars. The printer used by the Bergen Community College E-Nable chapter that I was a part of is an Ultimaker 2.
Once a design is downloaded (in .stl format), there is an intermediate step before printing the design. It has to go through what is called a “slicing software” that prepares the file for the printer. A good slicing software is “Cura,” whose settings you can manipulate based on the type of print you are looking for.
For new users, a “Simple Mode” option is available in the Print Set-up tab. Other options include the print quality, percentage of infill (material inside of the design, generally set to 30 percent), and more. Once the slicer prepares the file, it should be saved on an SD card and transferred to the printer.
Before printing the design, one must go through the tedious task of levelling the bed, which is a process that the printer itself should guide you through. After that, use a common glue stick to add glue onto the bed of the printer and start the print.
Printing the parts of a prosthetic can take about 20 hours, but be sure to check the print once in awhile. 3D printers are known to bring about challenges that can be overcome by reading what others have experienced in a variety of online forums.
C. Assembly
The multitude of parts that the 3D printer spits out aren’t good for anything until somebody puts them together. This process can take about an hour if you have the right materials on you: flexible and non-flexible string, screws, a screwdriver, foam padding, velcro, and a heat gun or bucket of hot water, depending on the kind of filament you’re printing with.
 A fairly straightforward model to assemble is the Phoenix hand. There is a very visual guide to assembling the hand that comes with the downloadable Phoenix hand at.
D. Reaching Amputees
Once you have followed the steps to creating hands, it is equally important to work on your accessibility. Give amputees on your campus the ability to connect with you through email or social media by posting fliers on campus and advertising your projects online. Also, follow the instructions on enablingthefuture.org to become an official E-Nable chapter so amputees in your area can reach you.
It doesn’t take a superhuman to begin an E-Nable chapter. Although a variety of efforts are being made to assist differently abled individuals, Project E-Nable is something you can take part in right now to change a life near you. It is also something that can continue on your campus long after you complete your degree.
Naturally, challenges can arise when taking on a task like this, but there is support in every direction you look. From my experience in Bergen Community College’s E-Nable chapter, college officials would not say no to this low-cost, life-changing project, and a variety of online forums can help with any problems you run into. You can find solutions in the blog that my team and I have kept, and you can always contact me with questions.
If you do decide to begin this journey, keep in mind our motto, a quote from Hugh Herr: “There are no disabled people in the world, only disabled technology.” And, may you have the best of luck!


